Resources
Basic Git Work Flow
-
Install a local client msysgit. This installs Git which comes with GUI tools Git-GUI and gitk.
- Sign up for some remote repository service Github.
- Create a new repository on Github or fork someone else’s.
-
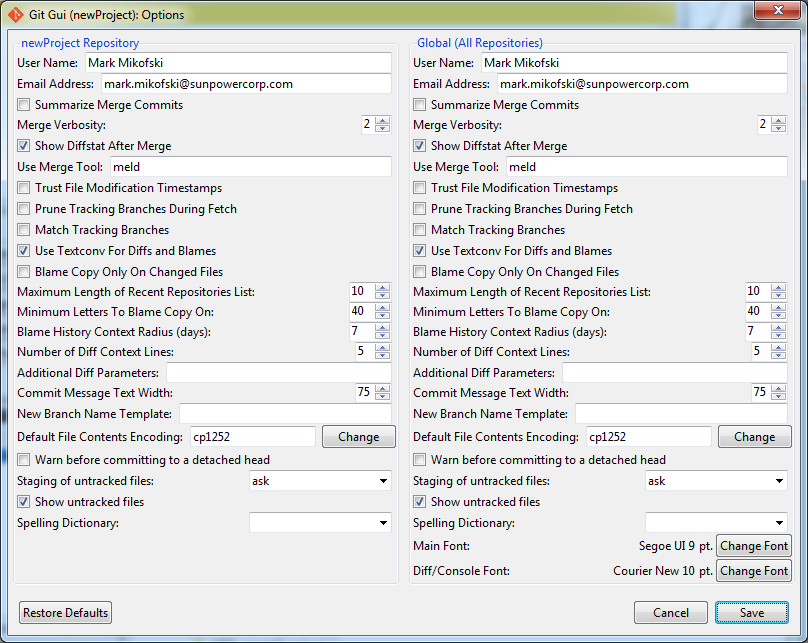
Add your email and name to msysgit from git-gui options, from the menu bar select Edit -> Options.
-
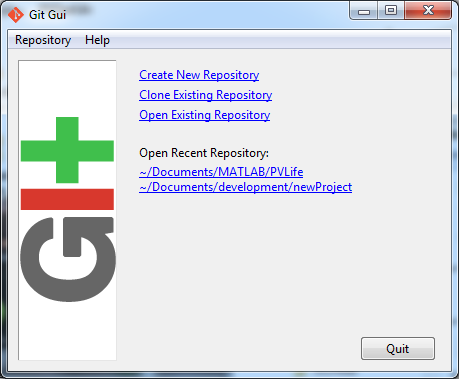
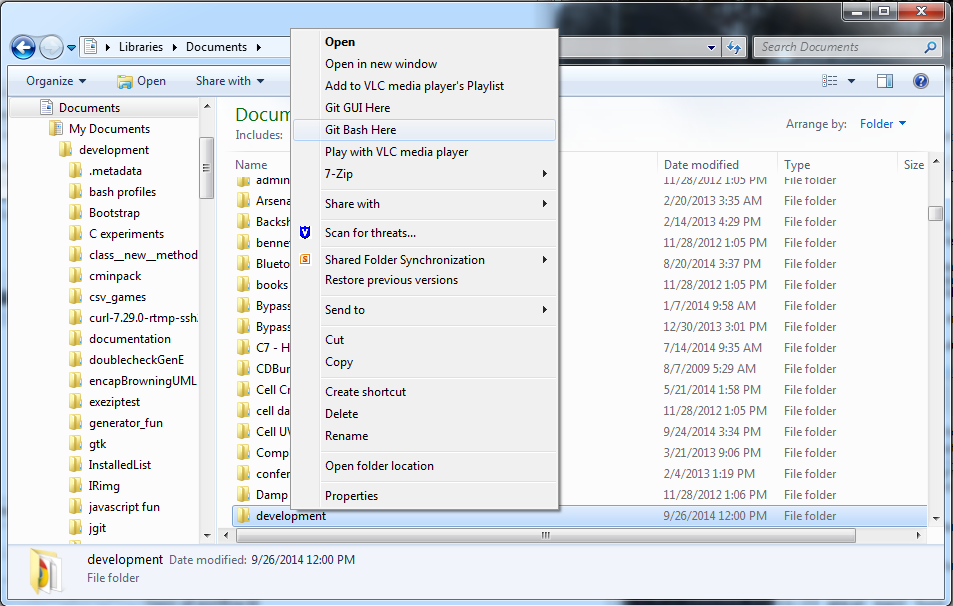
Create a fresh clean repository. From Windows Explorer right click on the folder in which you want to create new repo, select Git-GUI, then Create New Repository then enter new name you want the repo folder to have.
or use Git Bash.
$ git init myNewRepo -
Add a remote repository to your local repository. From Git-GUI menu bar select Remote -> Add…
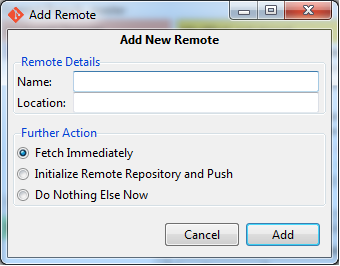
Fill in the name you want the remote to be called when you pull from and push to it and the location of the remote. The location is its URL, and can be HTTPS or SSH. If you use HTTPS you will be prompted for your username and password everytime. If you have not set up two-factor authorization, then HTTPS will work fine. If you have set up two factor authorization then create a personal access token and use the token as your username and “x-oauth-basic” as your password.
To use SSH, please set up keys according the instructions in Pro-Git or GitHub. If you set a passphrase you will be prompted to enter it everytime.
-
Clone an existing repository.
$ git clone https://github.com/mikofski/BasicGitWorkFlow - Do some work, eg write some docs, make some models, write some code, etc
-
Save your changes in the repository. From Git-GUI click the Rescan button to update Git-GUI. The files you’ve just changed will appear under Unstaged Changes. Clicking the icon for each file will stage it, and the file will move under Staged Changes (Will Commit). You can do this from Git Bash as well.
$ git add file1 file2 file3then commit the changes by entering a message and clicking Commit.
 $ git commit -m "add paragraph explaining basic version control
 workflow"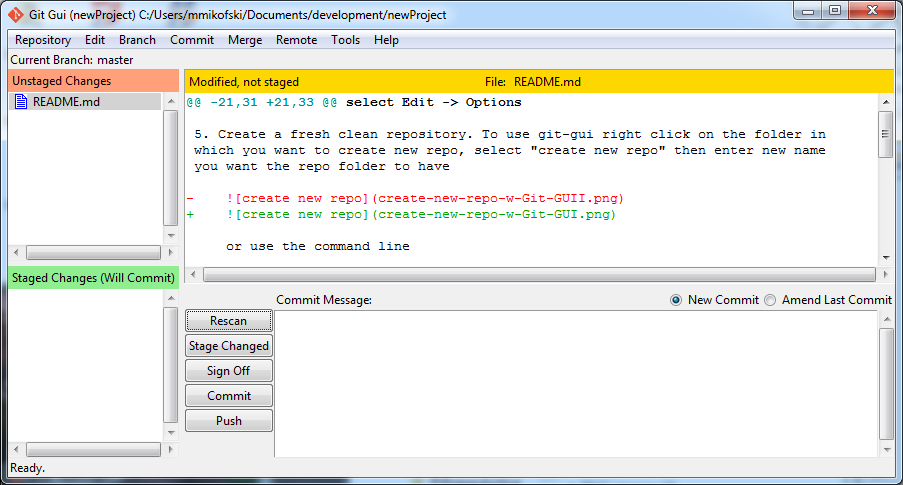
-
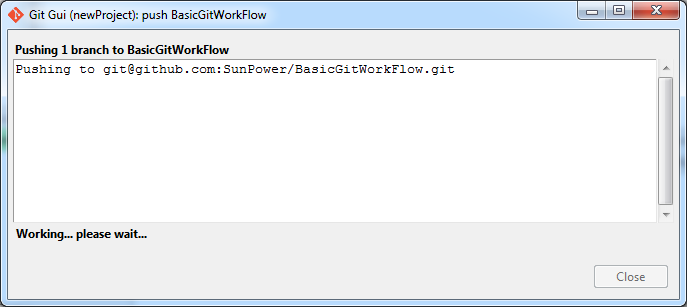
After several commits click Push to push your changes up to the remote.
$ git push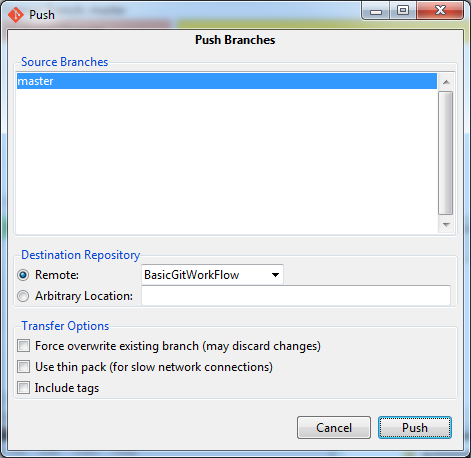

-
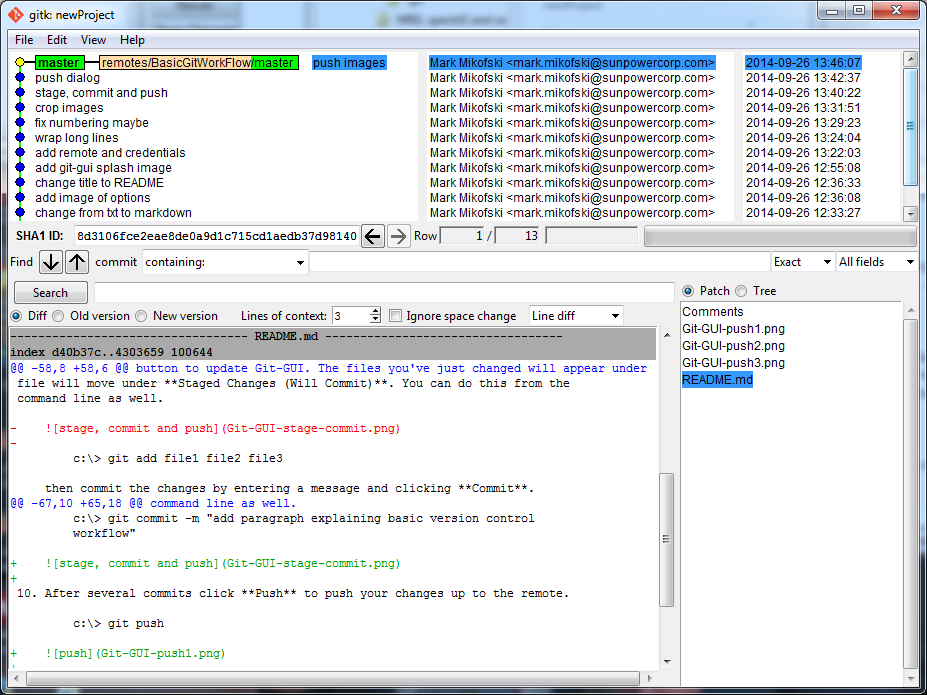
To see the history of your repository from Git-GUI menu bar select Repository -> Visualize All Branch History.
-
Later when you’re at a different laptop and want to make a quick change or if you work with someone else, pull the changes from your other machine or your coworker.
$ git pull -
You had a totally awesome idea, but you don’t want to mess up your stuff that is finally working so you create a branch
$ git checkout -b myNewIdea -
After working on your cool idea, you decide to bring it back into the fold, you’ve been making changes and commiting them in your branch, so first return to the main branch called master
$ git checkout masterthen merge the changes from your “cool idea” branch
$ git merge myNewIdea -
Download a diff/merge tool so that you can view diffs and resolve merge conflicts more easily.
You may need to configure from Git Bash using to use with git-difftool or git-mergetool. WinMerge will open conflict files without any configuration.